


Fixing a faucet is like solving a puzzle; each piece has its place. You might feel overwhelmed if you’ve noticed leaks or low water pressure, but it doesn’t have to be that way. You can tackle these issues head-on with a few tools and some simple steps. Let’s explore how to identify common problems and effectively restore your faucet to its former glory. Are you ready to get started?
Identifying Common Faucet Problems
When it comes to faucets, you might notice a few common issues that can disrupt your daily routine. One of the most prevalent problems is dripping, often indicating a worn-out washer or cartridge.
If you see water pooling around the base, it could mean a faulty seal or a loose connection. Another issue is inconsistent water pressure; this may stem from mineral buildup or a clogged aerator, affecting your faucet’s flow.
You might also experience strange noises, like rattling or whistling, which often signal air trapped in the lines or a loose fitting. Finally, if your faucet leaks from the spout while it’s off, it’s likely time to replace its internal parts. By addressing these issues promptly, you can rely on reliable faucet repair & installation services to restore function and prevent further damage.
Identifying these common problems early can help you address them effectively and keep your faucet functioning smoothly. Stay attentive, and you’ll prolong the life of your home’s faucets.
Tools and Materials Needed for Repairs
Addressing faucet issues often requires the right tools and materials to guarantee effective repairs. Start by gathering a few essential tools: a wrench, screwdriver, and pliers. These will help you disassemble the faucet and tighten any loose parts.
A small bucket or towel will catch any water that may spill.
Depending on the issue, you’ll also need replacement parts. For leaky faucets, look for O-rings, washers, or cartridge replacements. Be sure to check your faucet model to ascertain compatibility.
Having plumber’s tape on hand can help create watertight seals when reassembling.
Lastly, consider a cleaning solution to eliminate mineral buildup, which can affect performance. Additionally, ensure you are aware of routine maintenance to prevent further issues in the future.
With these tools and materials ready, you’ll be well-equipped to tackle those pesky faucet issues effectively and efficiently. Remember, preparation is key to a successful repair!
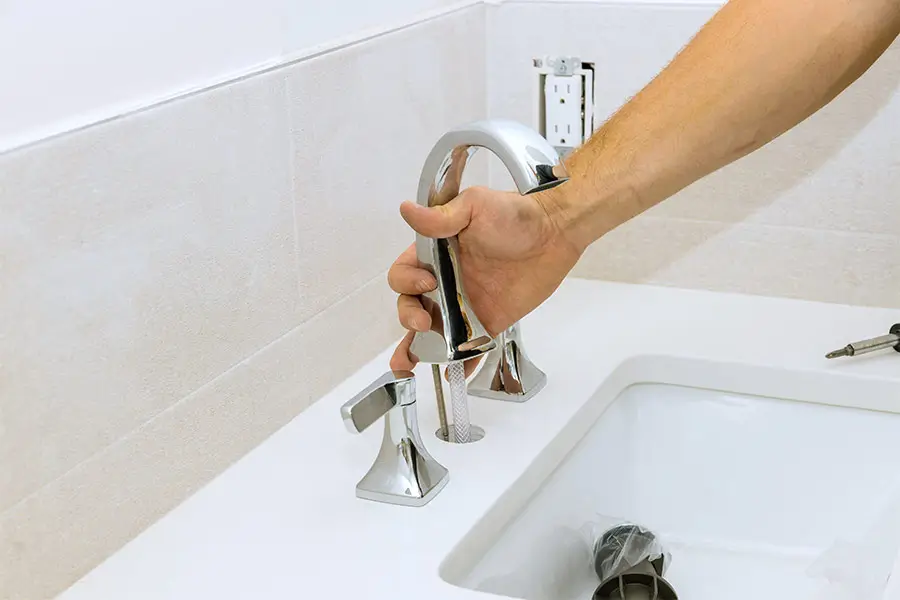
Step-by-Step Guide to Fixing Leaky Faucets
If you’ve noticed water dripping from your faucet, tackling that leaky issue can save you both water and money.
Start by turning off the faucet’s water supply. Then, plug the drain to catch any small parts that might fall.
Next, remove the handle by loosening the screw, which may be hidden under a decorative cap. Once the handle is off, take out the packing nut using a wrench.
Inspect the washer or O-ring for wear and replace it if necessary.
Reassemble the faucet by reversing the steps: replace the packing nut, reattach the handle, and remove the drain plug.
Finally, turn the water supply back on and test the faucet for leaks. If you’ve followed these steps and it’s still leaking, it might be time to call a professional for further assistance. Remember, for more complex plumbing issues, it’s always wise to seek help from expert plumbers who can provide thorough assessments and solutions.
Resolving Low Water Pressure Issues
After tackling a leaky faucet, you might encounter another common issue: low water pressure. This can be frustrating, but it’s often fixable with a few simple steps.
First, check the aerator at the faucet’s tip. Unscrew it and clean out any debris that might be blocking the flow. If that doesn’t help, inspect the supply lines for kinks or clogs.
You can also look for shut-off valves beneath the sink; they mightn’t be fully open. Another possibility is mineral buildup in the pipes, especially if you have hard water. If you suspect this, consider using a descaling solution or contacting a professional for assistance. Additionally, expert re-piping services can ensure that your plumbing system is safe and efficient, addressing any underlying issues contributing to low pressure.
Finally, if your pressure is low throughout the house, it could be an issue with the main water supply. In that case, reach out to your local water company for support.
Preventive Maintenance Tips for Faucets
Regular maintenance can greatly extend the life of your faucets and prevent common issues like leaks and low water pressure. Start by regularly checking for any signs of wear or damage, such as drips or corrosion.
Tighten loose fittings and replace worn washers or O-rings to keep everything functioning smoothly.
Next, clean the faucet aerator every few months to eliminate mineral buildup, which can impede water flow. Just unscrew it, rinse it out, and reattach it.
Additionally, inspect the supply lines for any leaks, and verify they’re securely connected.
Don’t forget to wipe down your faucets regularly to prevent grime buildup.
Lastly, occasionally run hot water through your faucets to flush out debris or scale.

Conclusion
Your faucet is like the heartbeat of your home; when it falters, so does the flow of daily life. You can restore that rhythm by tackling common issues with a bit of know-how and the right tools. Remember, regular maintenance is the key to keeping your faucet in tune. With each fix, you’re not just repairing a fixture; you’re nurturing the lifeblood of your space. So, embrace the challenge and let your home flow smoothly once again!